How to build your CCNA Data Center Lab using Titanium VM Nexus 7000 with GNS3 Home Lab Part01
A-Requirements to do this Lab.
B-Prepare your Environment.
C-Configure Titanium VM version 5.1-cl1 and GNS3 QEMU .
D-Build your topology.
E-Connect to Nexus7k simulator VM via putty.
A-The Requirements to do this lab as below :
-Laptop/Desktop with at least 8GB of RAM Intel-64bit
-VMware workstation 9.
Download from here
-GNS3 0.8.3.1.
Download from here
-Titanium 5.1-c11 VM image.
Download from here
-Cisco 3725 IOS image
Download from here
B-Prepare your Environment.
After you finished the step A now you are ready to build the lab as below.
-Adjust GNS3 configuration for instance Project directory, IOS image path, Dynamips ports and GEMU guest.
-Clone the Titanium NX VM from the VMware workstation .
- Add IOS image for Cisco 3725 router.
C-Configure Titanium VM version 5.1-cl1 and GNS3.
The configuration of the QEMU host is very sensitive if you make it not like this it will give you error. QemuImage path to the VMware flatedisk (vmdk-flate) file each nexus connect to its own VM I said before we will use 2 VMS for each Nexus 7K , RAM : 1024 MB, Number of NICs 6, NIC Model e1000, QEMU options leave it empty and last unchecked use KVM (Linux Host Only) as in the below image
Also I would like to mention here the setting of Titanium VM only we need to make sure that the ram is 2Gb or above its better and also the serial port configurtion don't put both 2 VM with the same settings for instance VM-NX7k-01 will be \\.\pipe\com_1 the other one may be like this \\.\pipe\com_2.
D-Build your topology.
Build your topology in GNS3 just add 2 Qemu hosts that you configure with Titanium VM and add also the Cisco router 3725 and connect as below
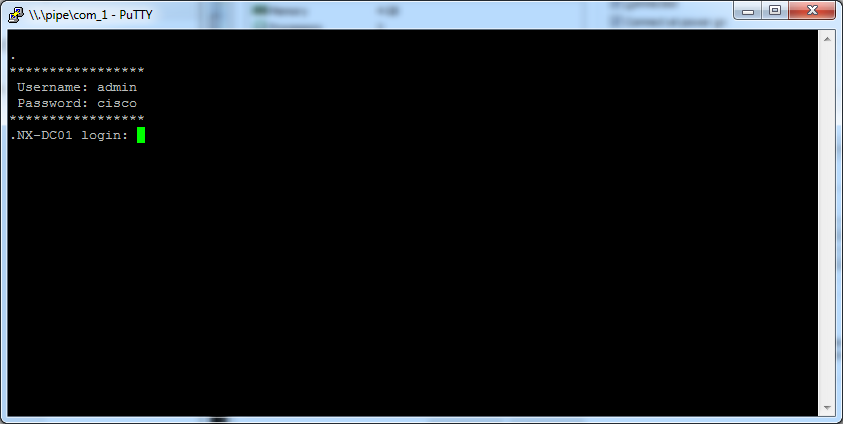
E-Connect to Nexus7k simulator VM via putty.
A-Requirements to do this Lab.
B-Prepare your Environment.
C-Configure Titanium VM version 5.1-cl1 and GNS3 QEMU .
D-Build your topology.
E-Connect to Nexus7k simulator VM via putty.
A-The Requirements to do this lab as below :
-Laptop/Desktop with at least 8GB of RAM Intel-64bit
-VMware workstation 9.
Download from here
-GNS3 0.8.3.1.
Download from here
-Titanium 5.1-c11 VM image.
Download from here
-Cisco 3725 IOS image
Download from here
After you finished the step A now you are ready to build the lab as below.
-Adjust GNS3 configuration for instance Project directory, IOS image path, Dynamips ports and GEMU guest.
-Clone the Titanium NX VM from the VMware workstation .
- Add IOS image for Cisco 3725 router.
C-Configure Titanium VM version 5.1-cl1 and GNS3.
The configuration of the QEMU host is very sensitive if you make it not like this it will give you error. QemuImage path to the VMware flatedisk (vmdk-flate) file each nexus connect to its own VM I said before we will use 2 VMS for each Nexus 7K , RAM : 1024 MB, Number of NICs 6, NIC Model e1000, QEMU options leave it empty and last unchecked use KVM (Linux Host Only) as in the below image
Also I would like to mention here the setting of Titanium VM only we need to make sure that the ram is 2Gb or above its better and also the serial port configurtion don't put both 2 VM with the same settings for instance VM-NX7k-01 will be \\.\pipe\com_1 the other one may be like this \\.\pipe\com_2.
D-Build your topology.
Build your topology in GNS3 just add 2 Qemu hosts that you configure with Titanium VM and add also the Cisco router 3725 and connect as below
Power on all devices and also power on both VMs as below
Now we finished part1 we will meet soon in part2
BR
ALAA HEGGA


